Tensioned access platforms: tips for installation
Visornets’ Technical Department explains how to install nets, ropes, tensile rachet strap from Walk-On-Nets
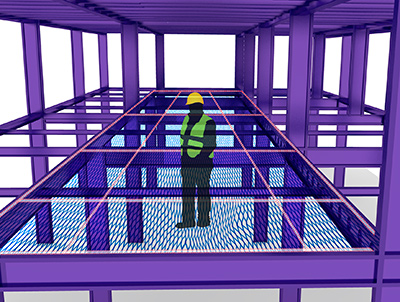
The installation of the Walk On Nets / T.A.P. (Tensioned Access Platforms) must be carried out by a competent team. A competent team is one which is trained accordingly to this kind of works.
By the nature of these works normally those teams must be engaged to work at heights in places where the access is difficult. Thus this is the main reason of the Walk On Nets, nets as working platforms where is impossible or difficult to install scaffolding or other metallic platforms such as suspended.
In the Visornet´s technical department we are competent to issue a layout for installing the nets, ropes, tensile rachet straps and everything else for a proper installation using your CAD plans.
Tips for installing Tensioned Access Platforms
1.- Assure the net used is a safety net EN 1263.1 type SB1 Q45. This is a safety net with a 45 mm mesh which guarantees the lowest deformation when walking around.
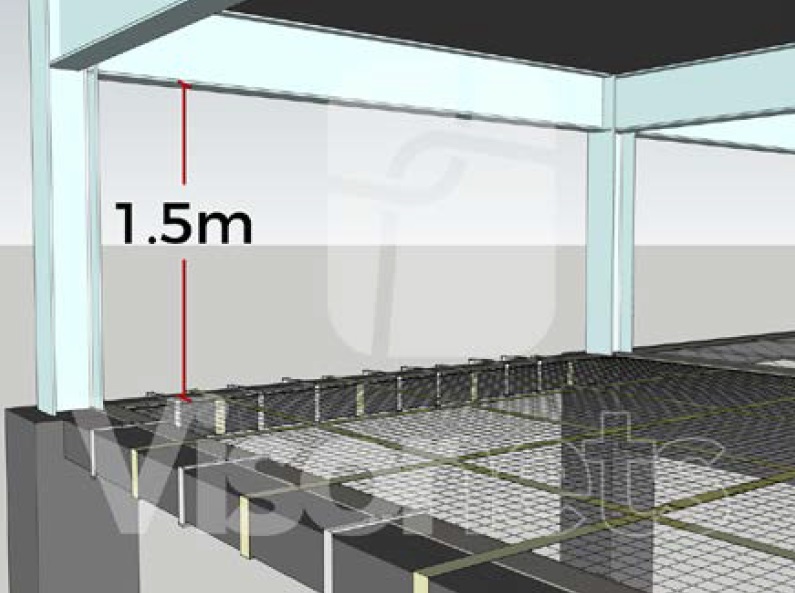
2.- The distance of the tensioned access platform net it must be equal to or less than 1.5 m underneath the lower edge of the construction.

3.- The inclination of the installed net will not be more than 20° (or maximum slope of 36,4%).
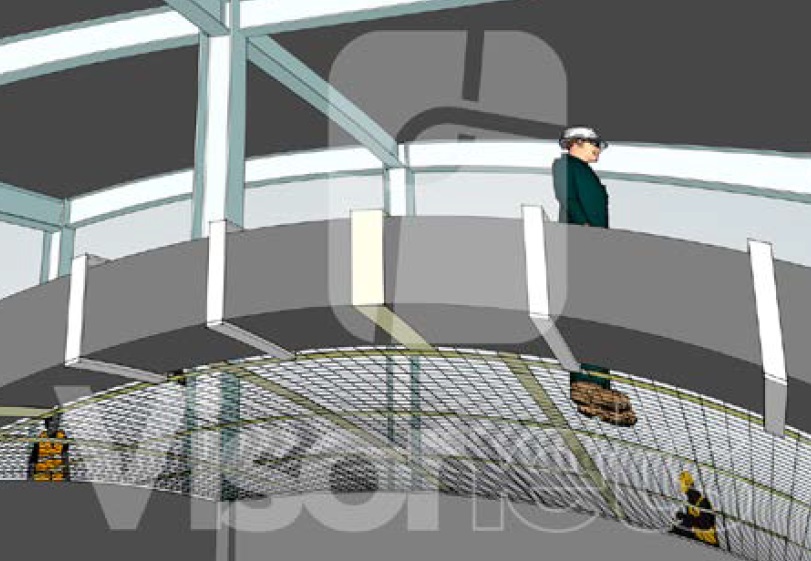

4.- The tension straps will conform a grid spacing of a maximum of 2 x 2 m. And a maximum distance to the edge of the platform net of 2 m.
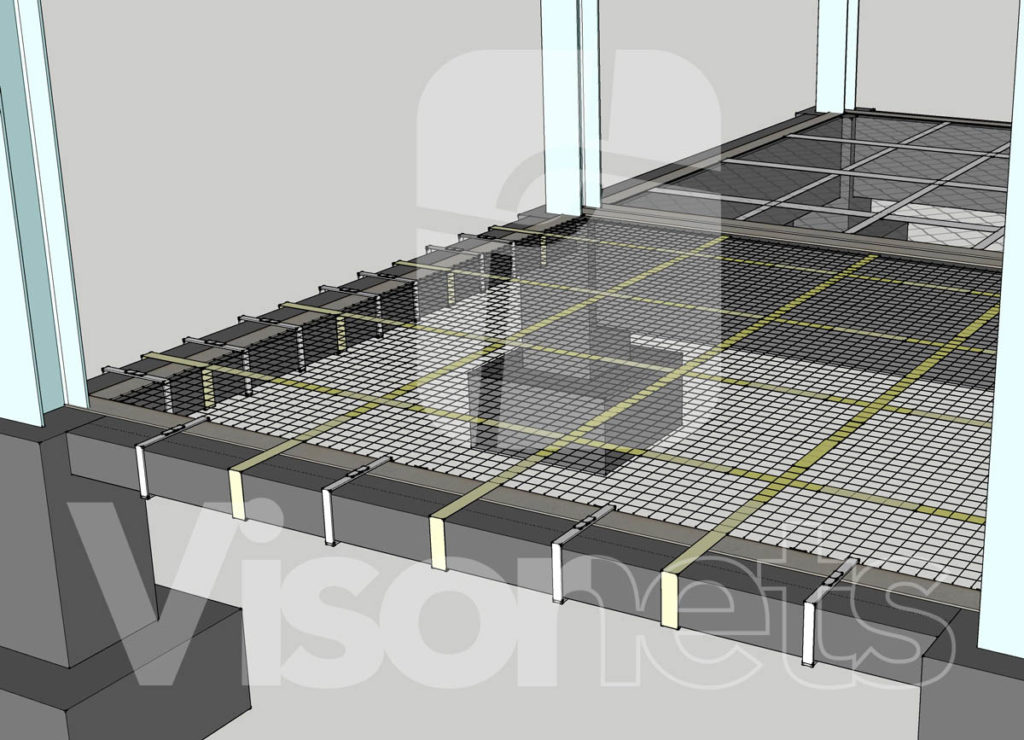

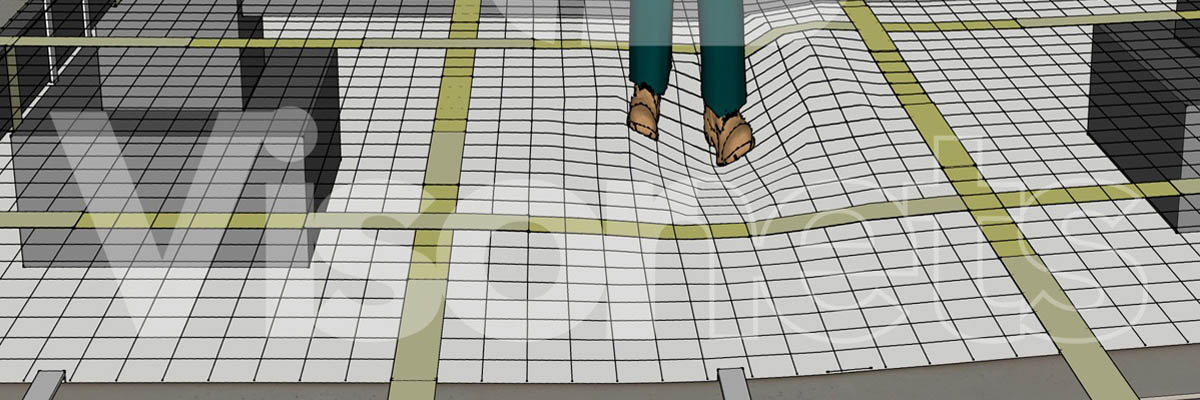
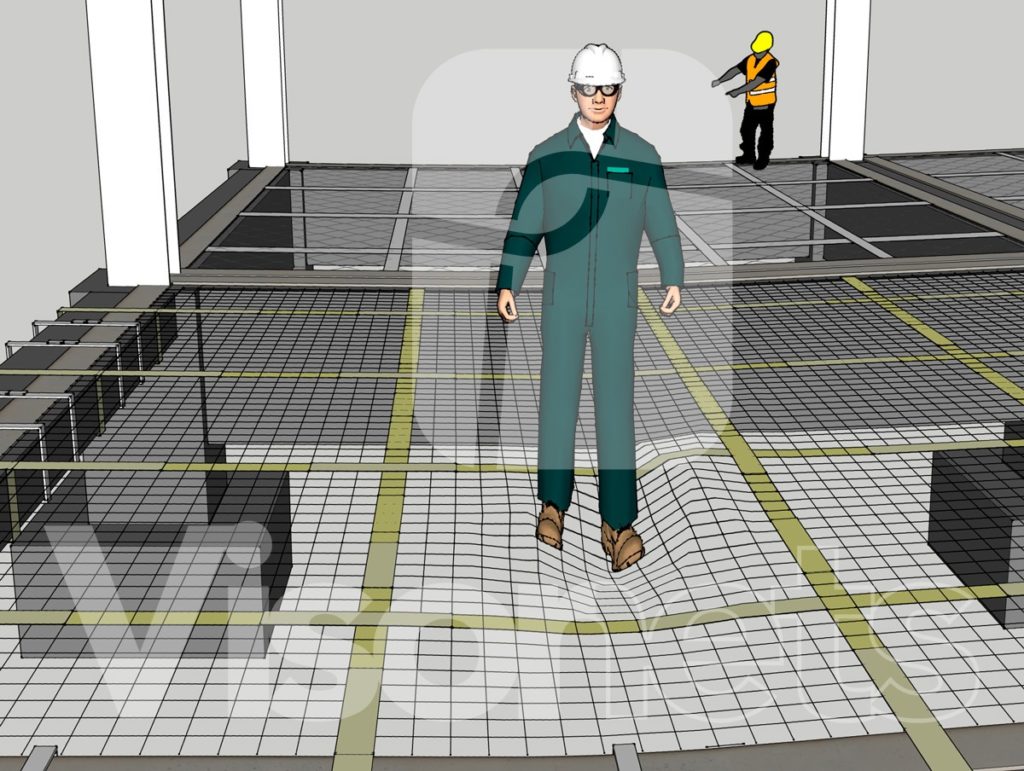
5.- The maximum sag of the net when loaded with a person in the least favourable place will be not more than 50 cm.
Note: after tensioning the straps on the second day, the sag must be reduced to only 30 cm.

Download documents
If you want to have the full technical guide for the walk on nets / Tensioned Access Platform system, please click here.
Also we have at your disposal a checklist for achieveing a proper installation, please download it here.
For more info about the walk-on-net by Visornets, please visit this page.
More than Nets.
